
Tutorial 5: Digital Identity
Digital Identity Tutorial
In this tutorial, we will walk through the linking of an external account (in this case, from Acme Bank) and the issuing of a verifiable credential from this external account. We'll help Bob link his Acme Bank account with a Knox wallet, allowing him to send and receive CPFs while also proving his identity through a privacy preserving identity solution.
Step 1: Setting up DFIs and Wallets
For this tutorial, we will need to create a DFI and a wallet:
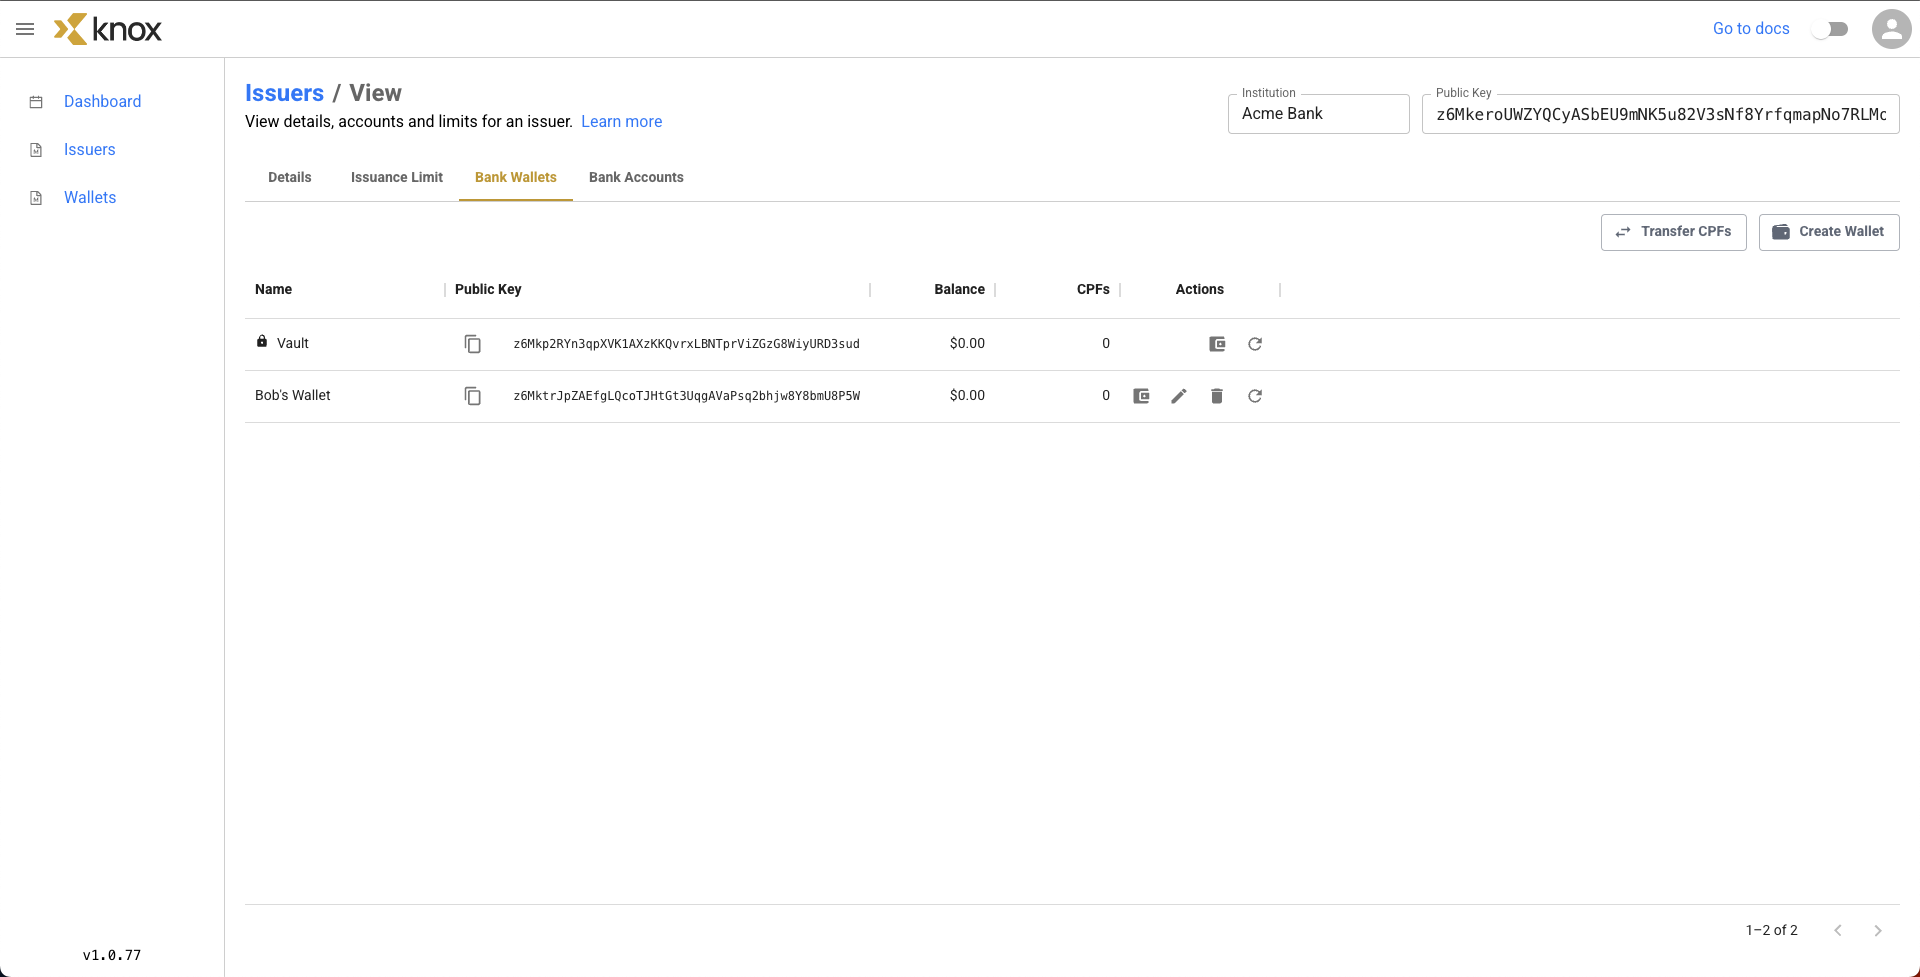
Acme Bankwith an issuance limit of$10,000.00 USDand a created wallet calledBob's Wallet
The tutorial will still work with different names and issuance limit values, but this is suggested for the simplicity of the tutorial. Please refer to the tutorials on Creating an Issuer and Creating a Wallet for the tutorials of creating a DFI and creating a wallet respectively.
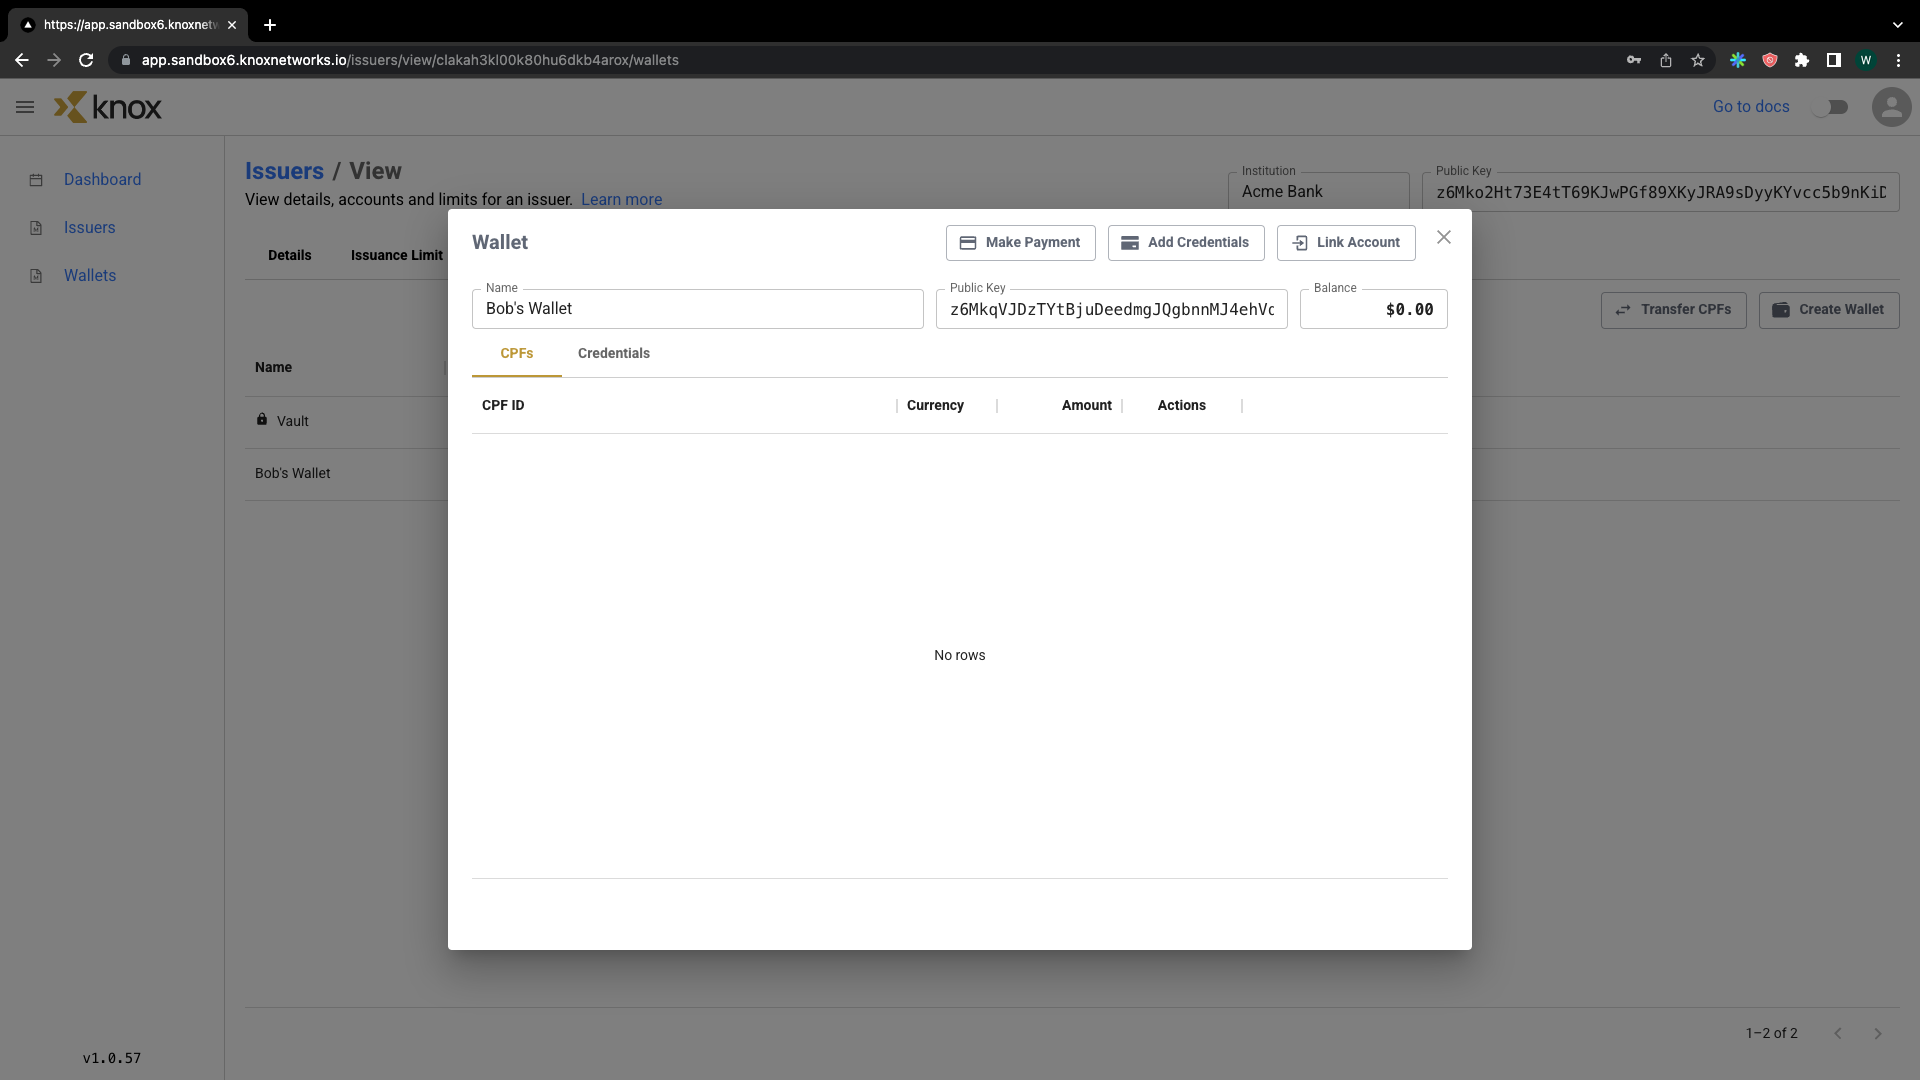
Here's Bob's Wallet from the view of the DFI.
Within Bob's wallet, we can see three items of functionality:
- Make Payment - This allows Bob to send money from his wallet to another wallet, similar to how we did in Issuance-Payment-Redemption
- Add (Verifiable) Credentials - Adding credentials bridges Knox Identity services from Bob's connected bank accounts. We'll come back here after we've linked an external bank account for Bob.
- Link (Bank) Account - We can have Bob link his (demo) external bank's account to the Knox sandbox.
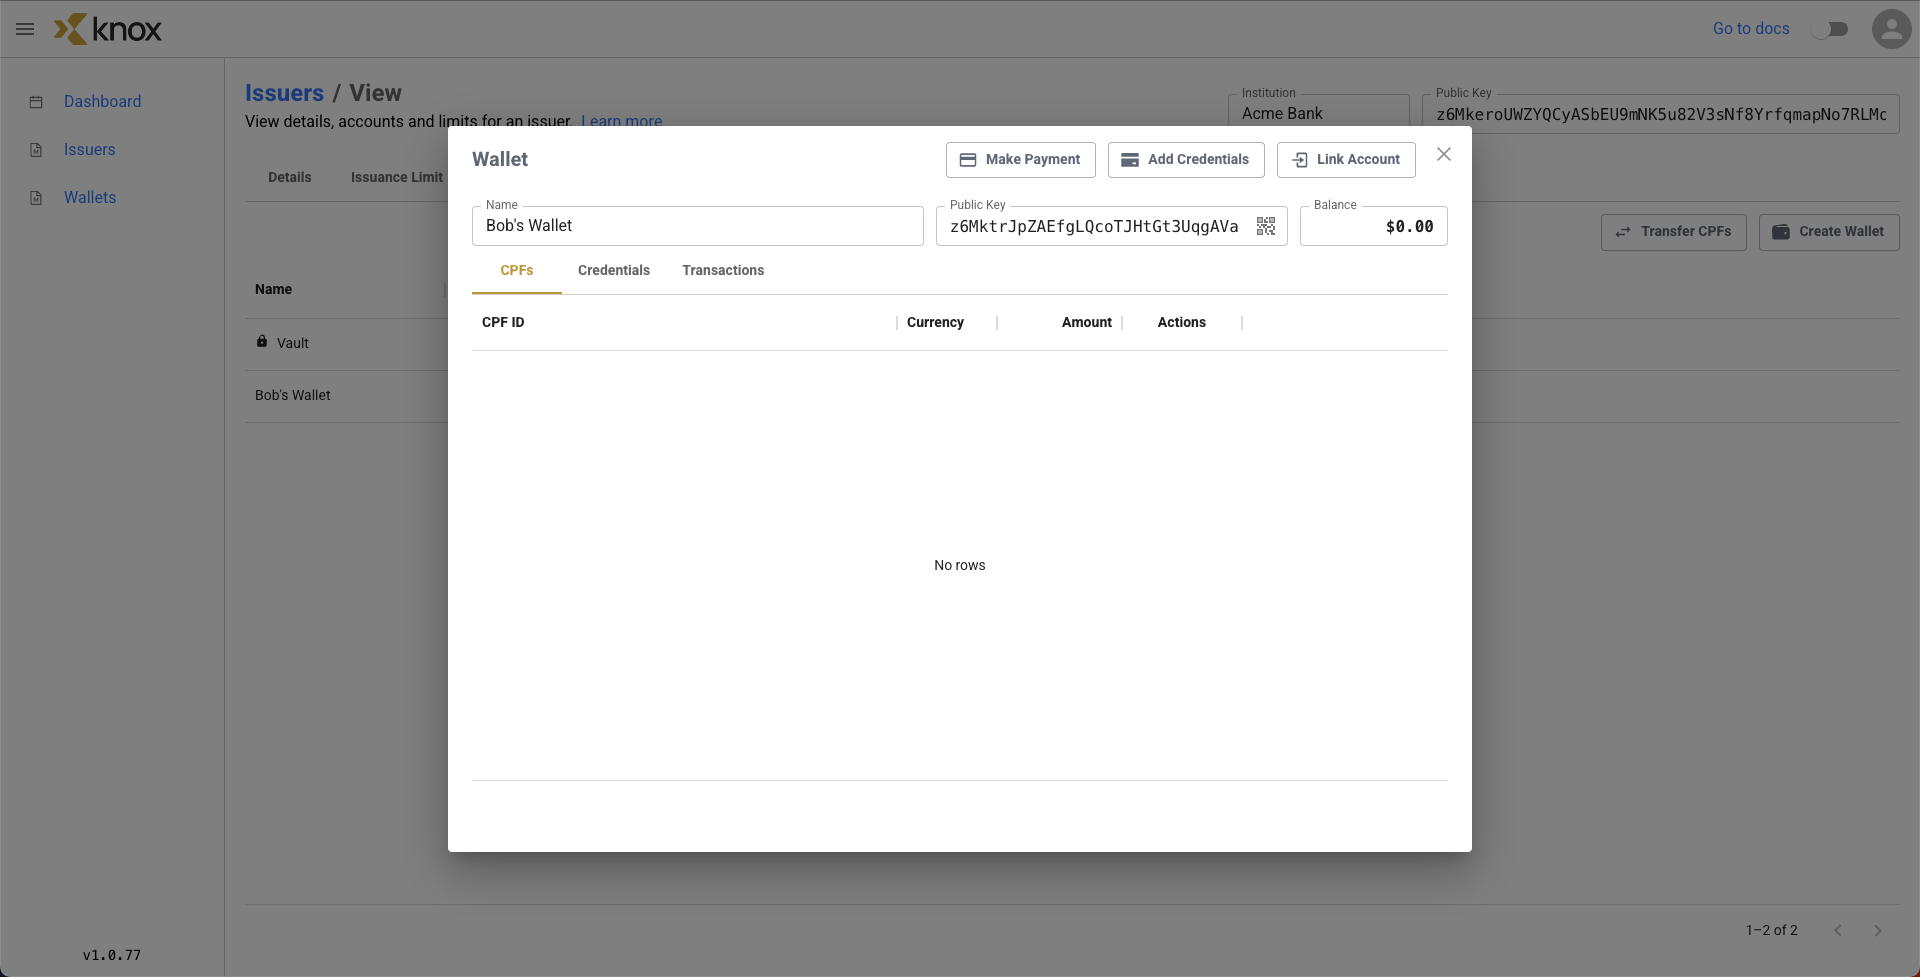
Note: Vault wallets do not have the ability to add credentials or link accounts, since they are not for end users.
Step 3: Link an External Bank Account
Now, let's have Bob link his bank account by clicking Link Account in his wallet. This will bring up an external screen that represents Acme Bank's authorization page.
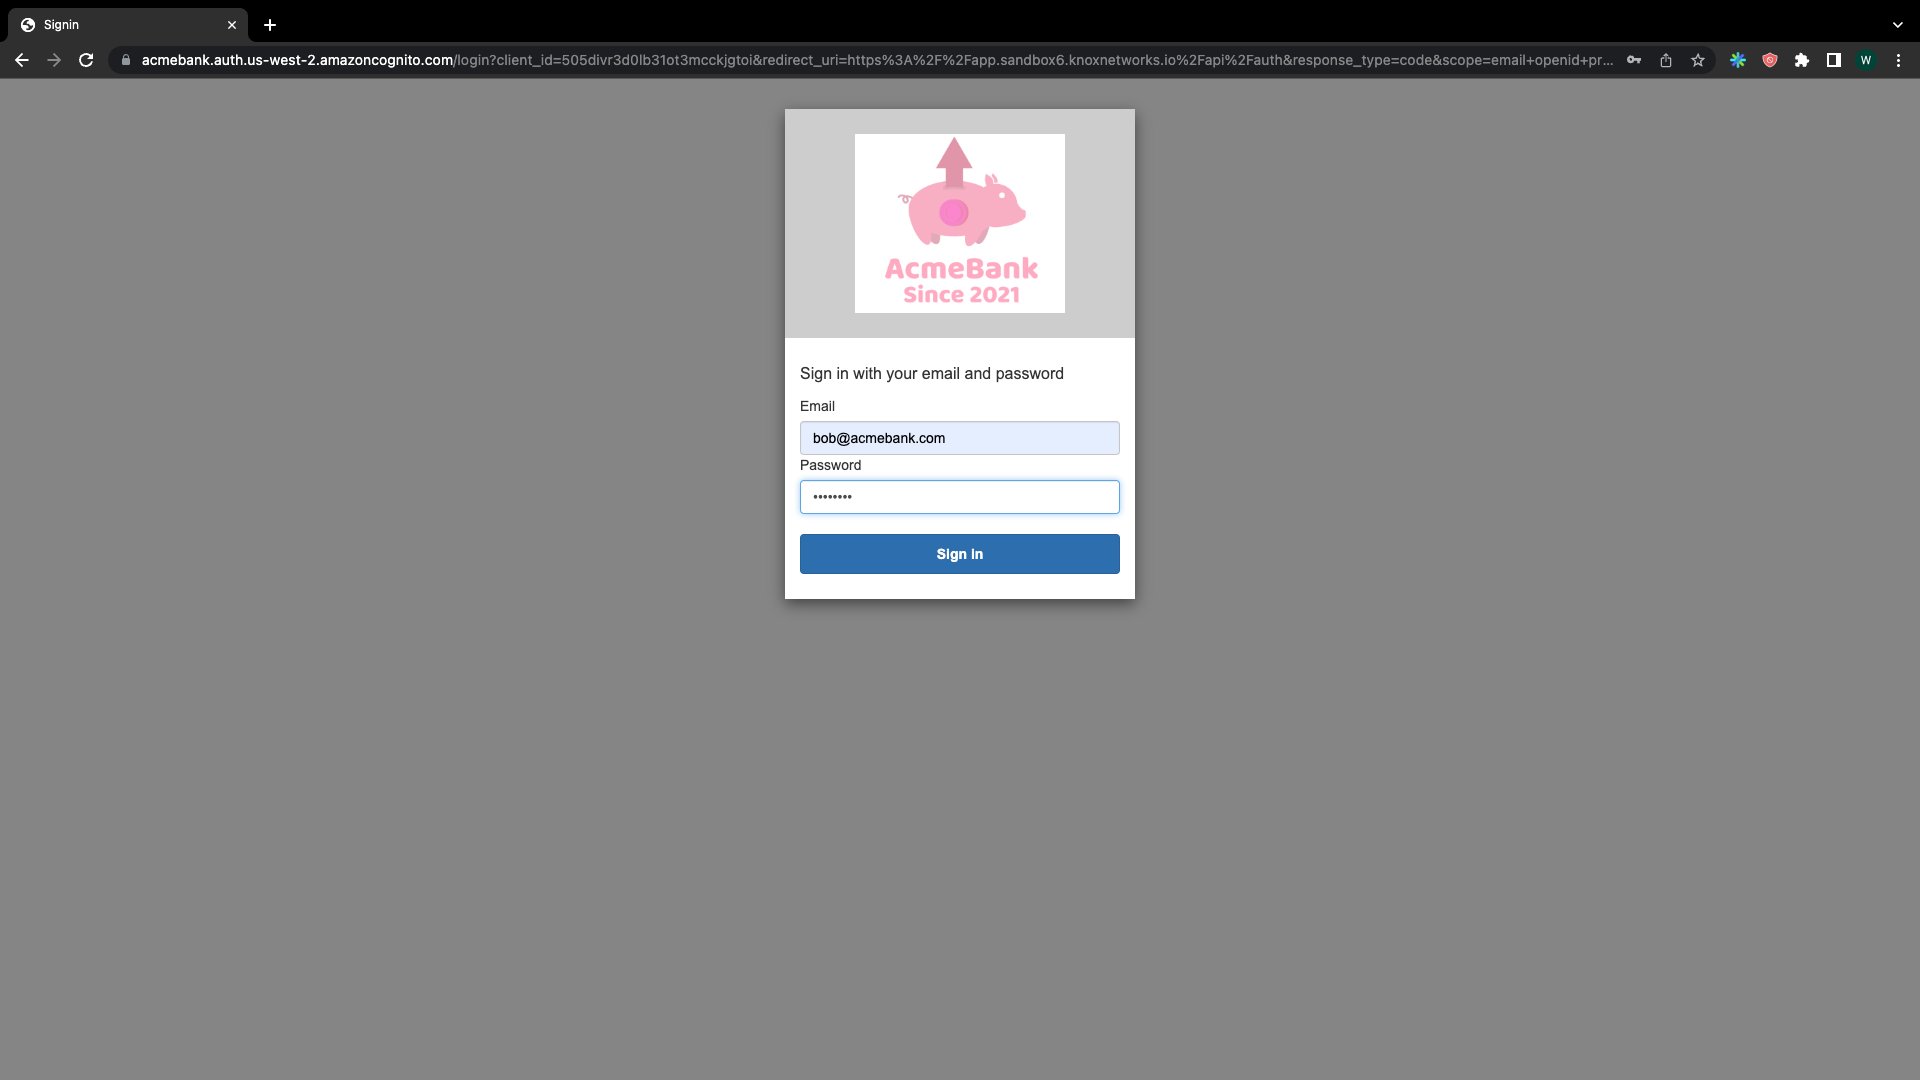
Let's have Bob enter his very insecure credentials of username [email protected] and password knox1234.
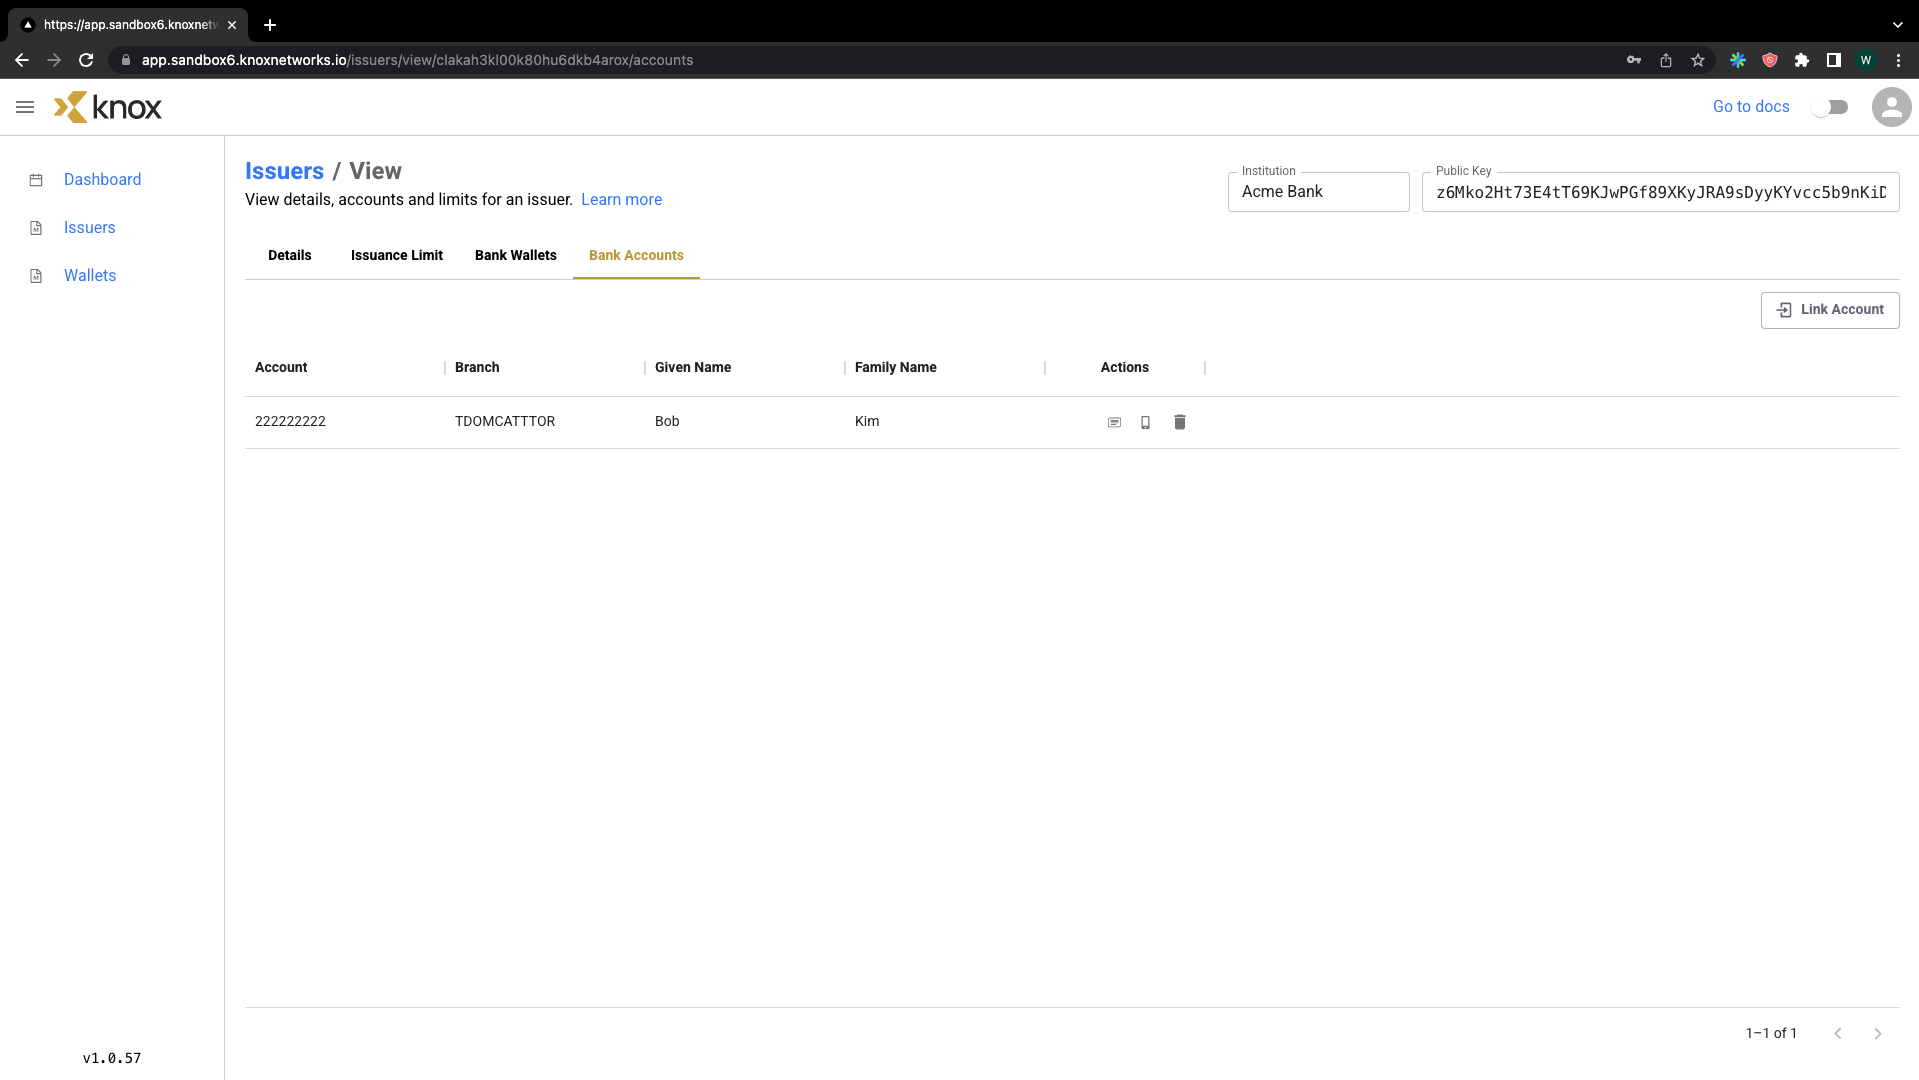
Now, we can see a linked external bank account for Bob. We can see Bob's account number, his branch number, and other data related to his account(NOTE: this is only for demo purposes, real Knox systems follow proper in-house data control procedures).
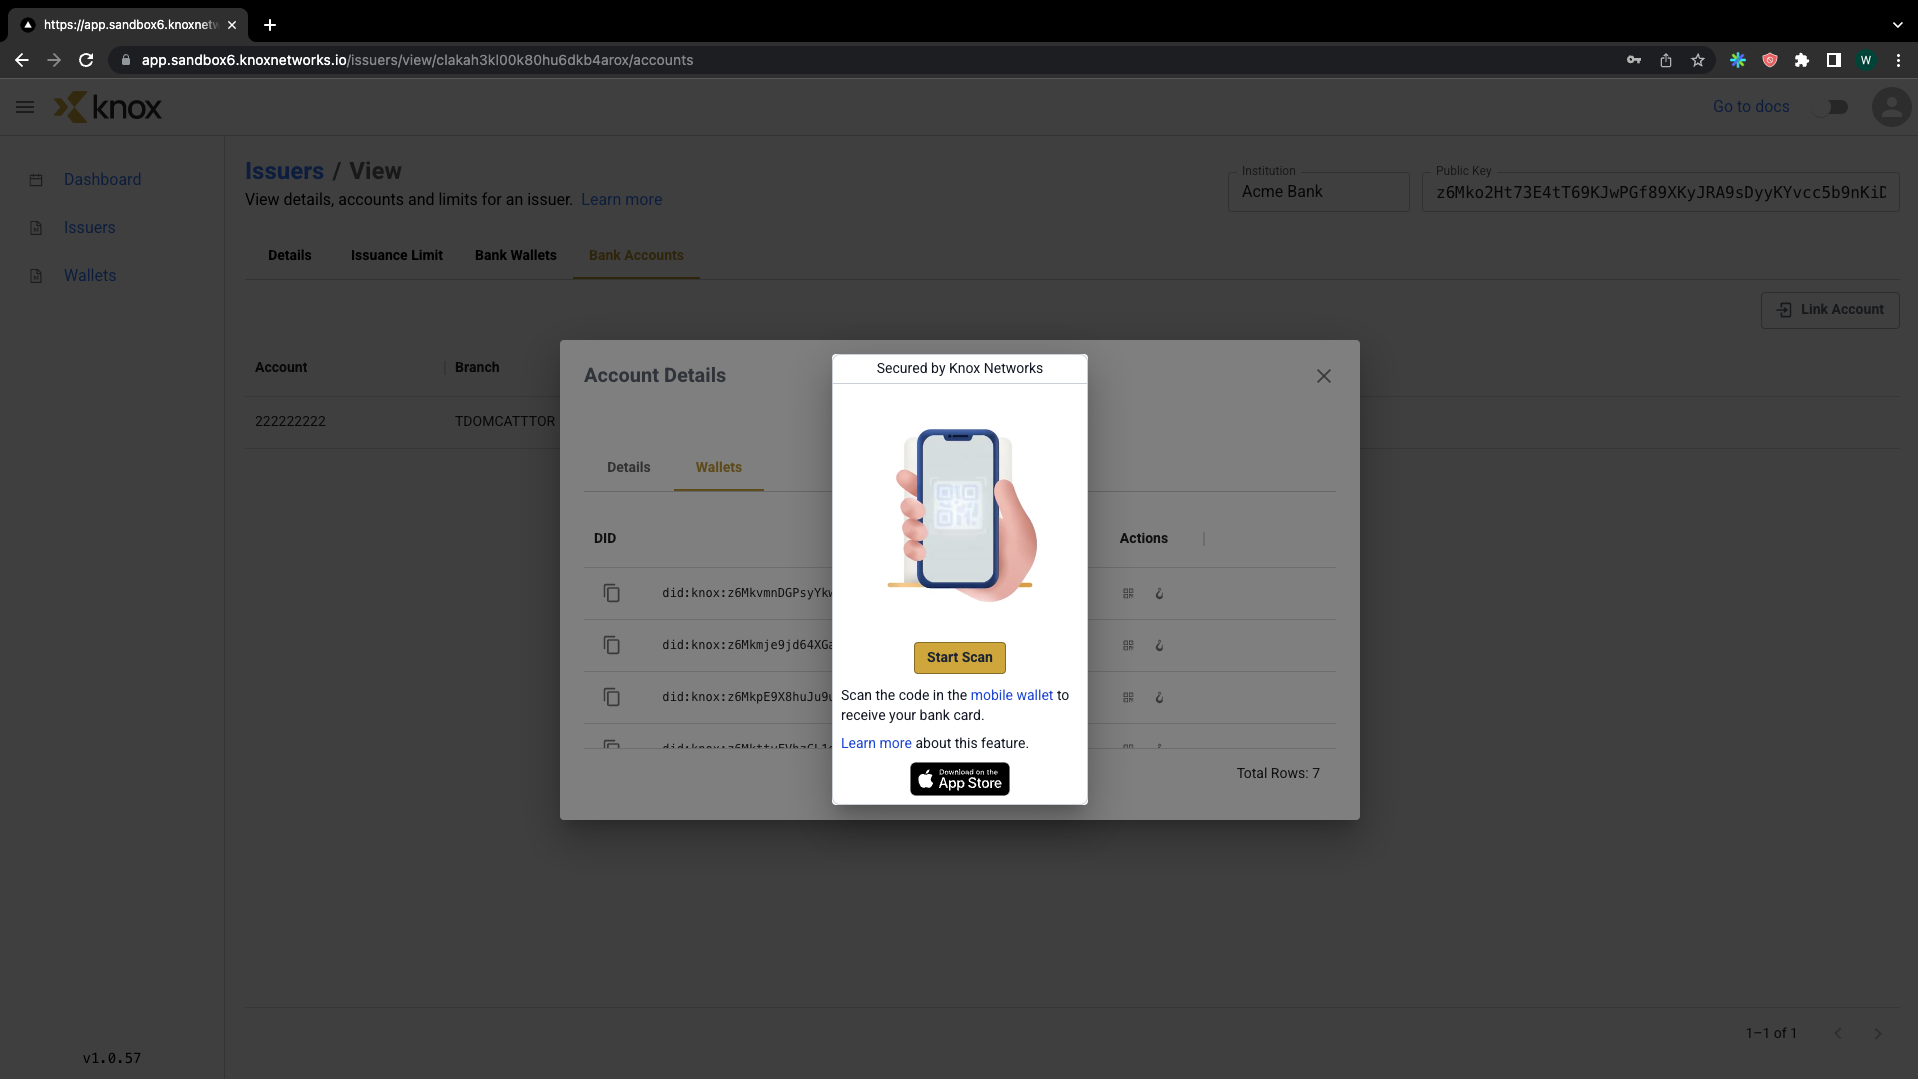
If we click on the phone icon on the row of the linked account, we will be given a screen like this:
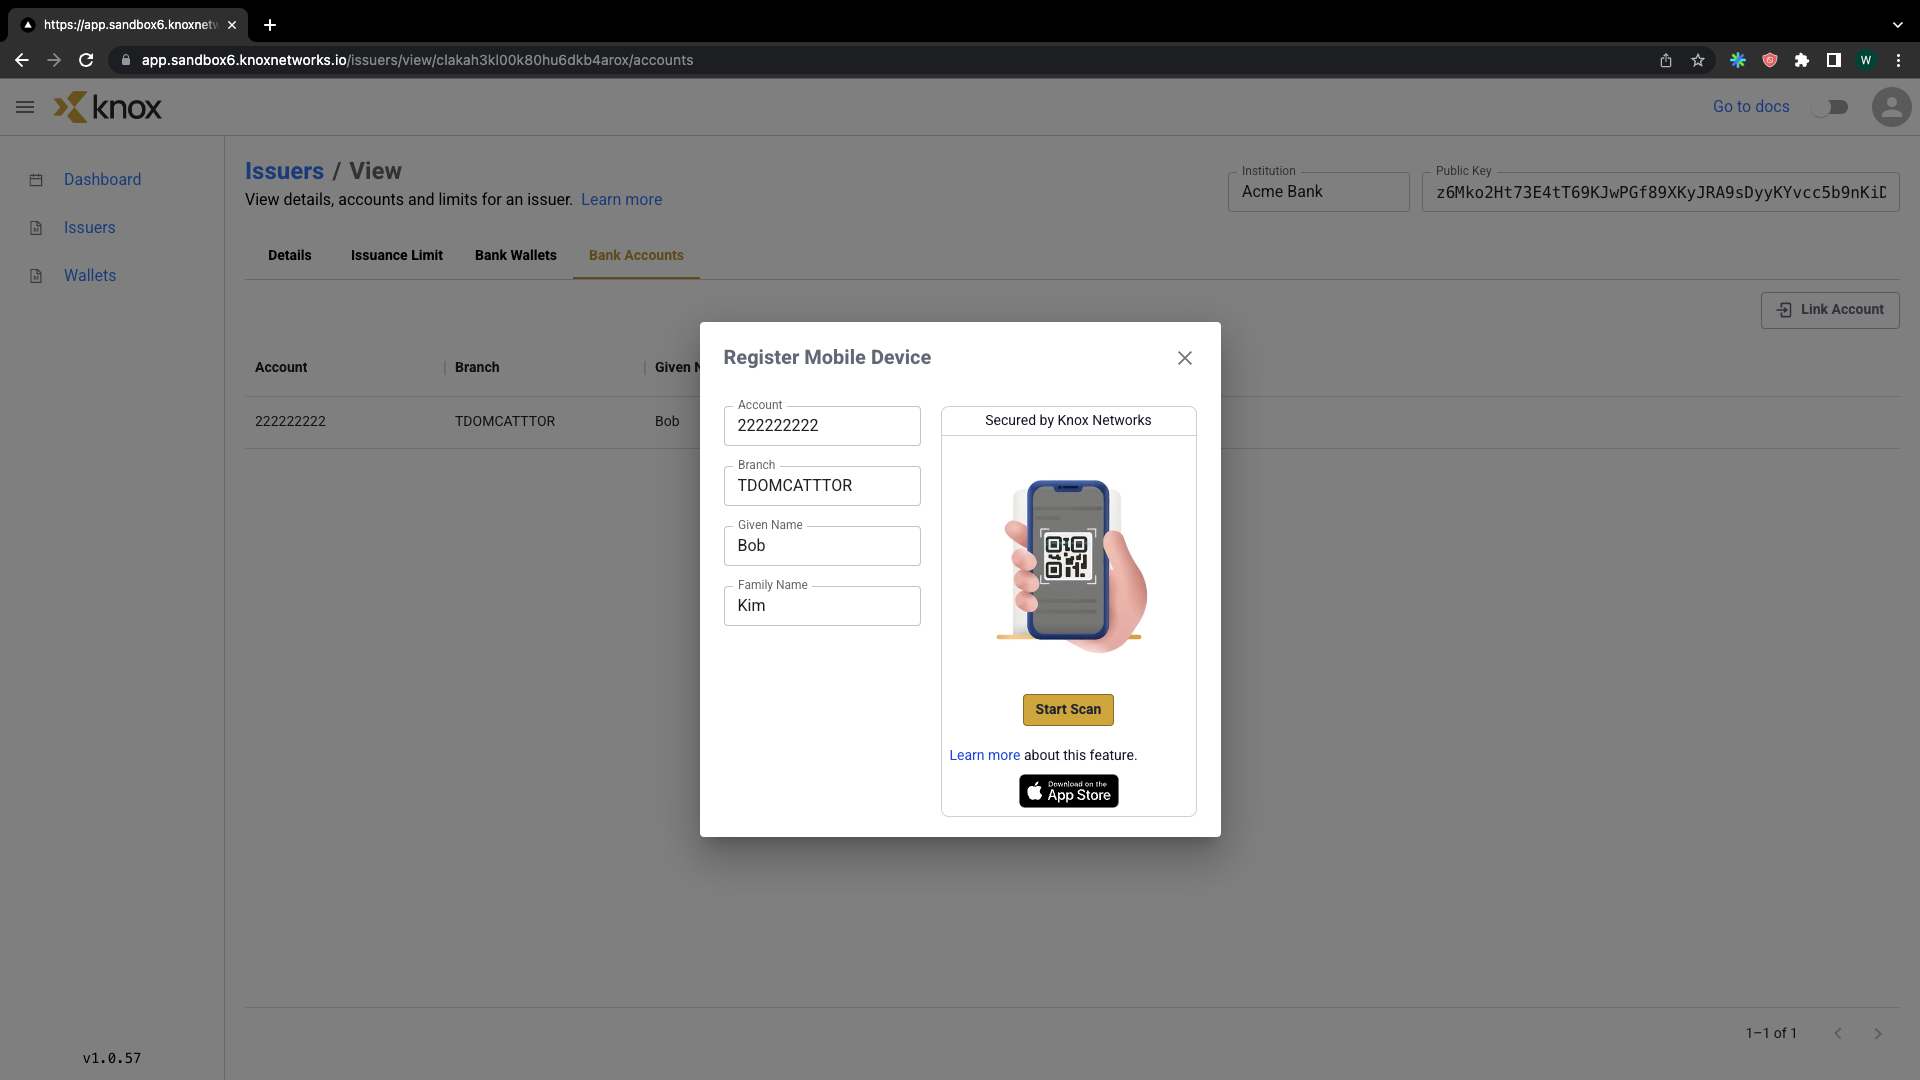
Now, if we have a mobile device near us, we would be able to click on the QR code button and scan the QR code with our phone to be able to automatically login to the Knox Networks mobile app and associate the mobile wallet with the account. This tutorial will not cover the mobile app.
If we click to view details on the account (next to the phone icon), we can see this:
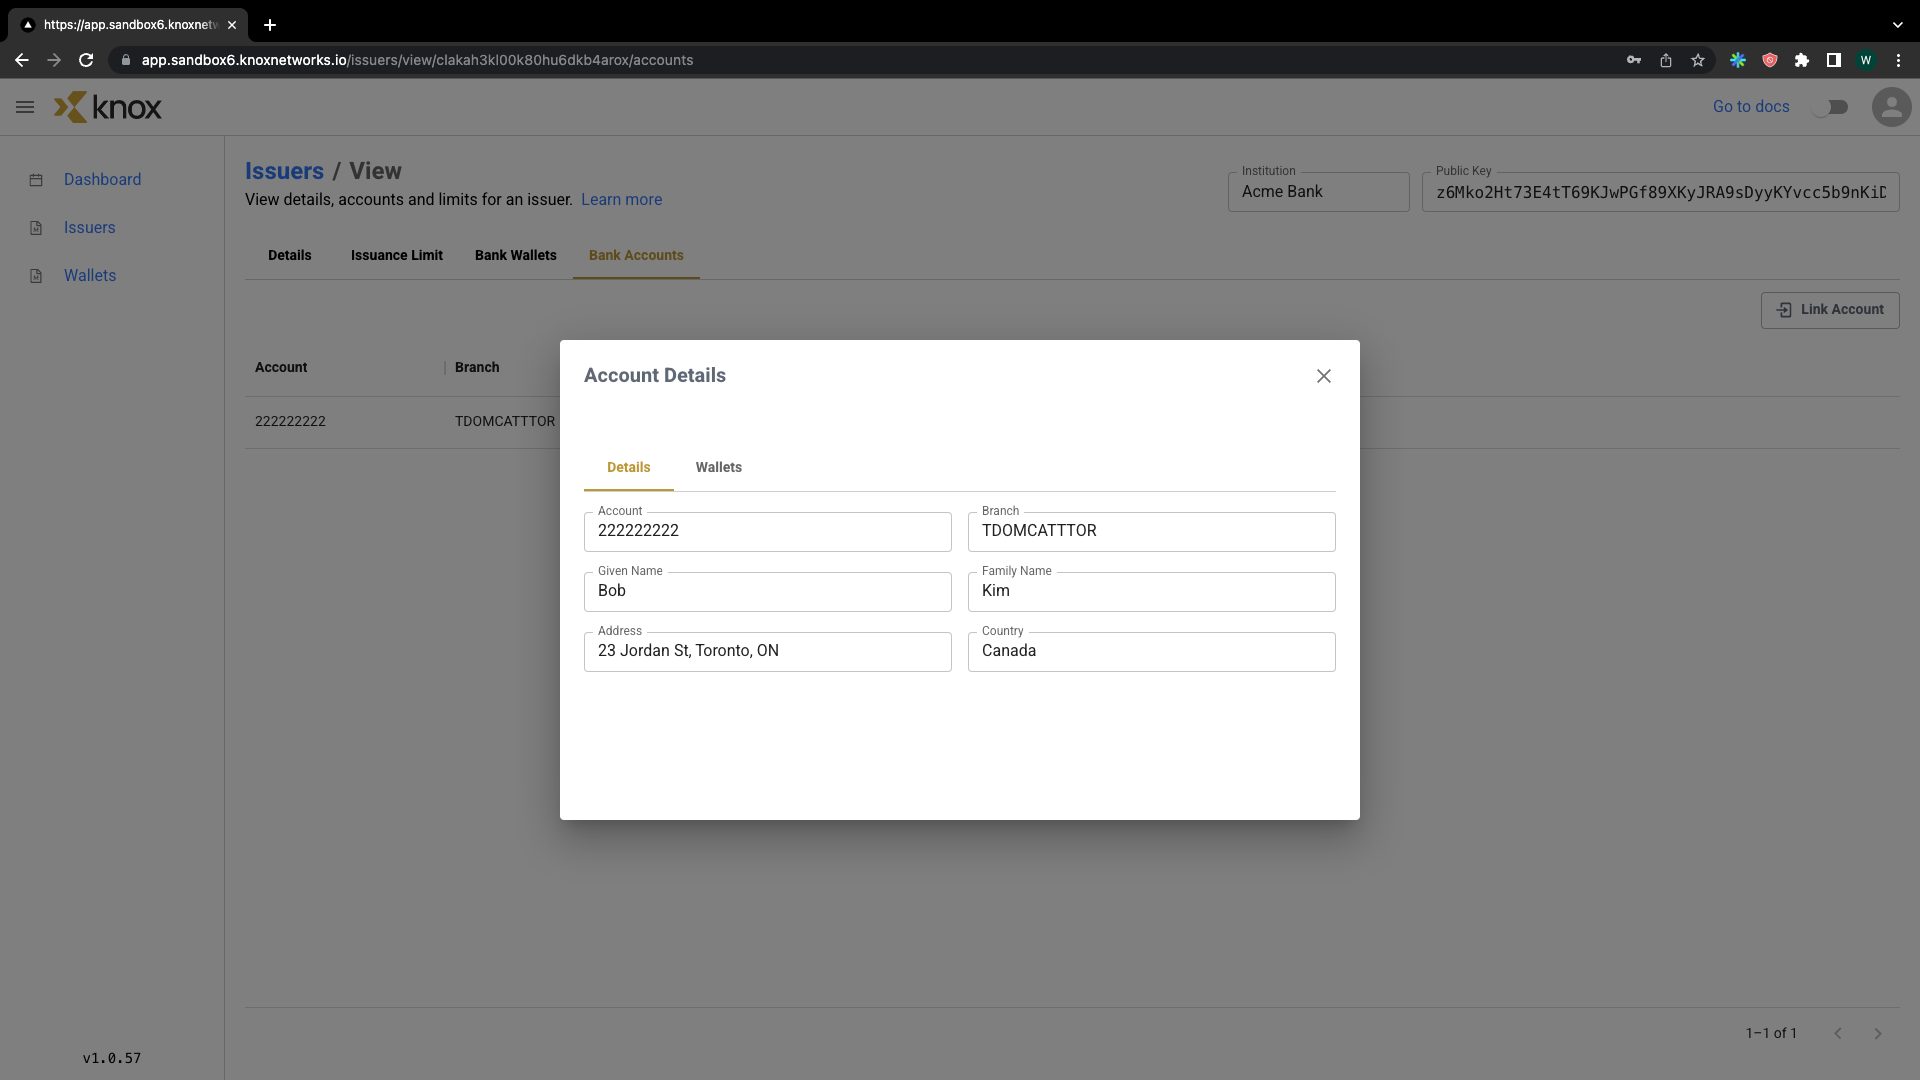
In the Details tab of this screen, we can see some common bank account fields that are required for KYC purposes.
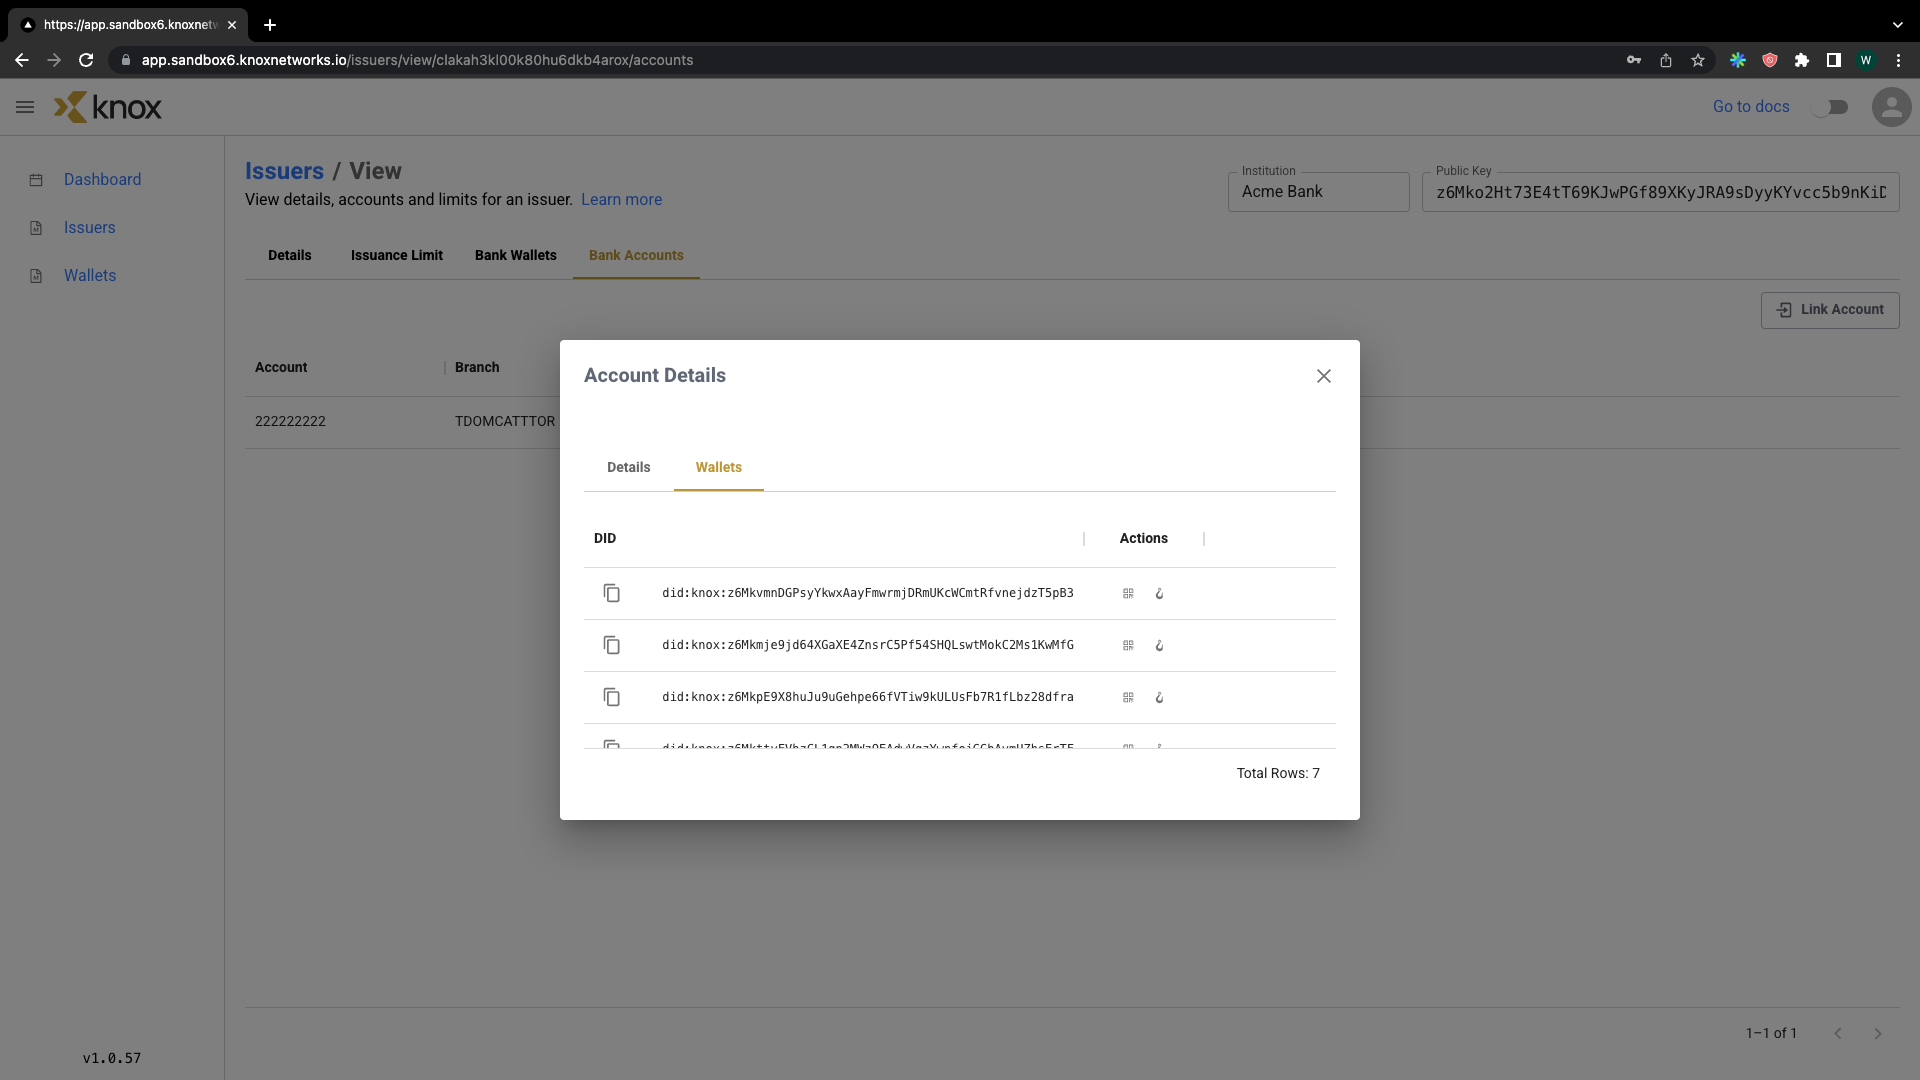
If we click over to Wallets, we can see the public keys of the Decentralized Identifiers that are linked with Bob's external account. The most recent DID at the top is the one we created (Bob currently has a few wallets associated with this account right now).
Step 4: Get a Verifiable Credential
Let's go back to the Bank Wallets tab under Acme Bank, and click on Bob's Wallet again.
Now that we have an external account linked, let's add some credentials. In this case, the only Verifiable Credentials schema we can add is from the bank account. In addition, unassociated wallets (ones that do not belong to an issuing institution like a commercial bank) cannot be connected to an external account at this time.
In future scenarios, someone could get VCs from a governmental institution (e.g. a driver's license or citizenship card). Let's click Add Credentials, and go over to the newly issued credentials in the Credentials tab.
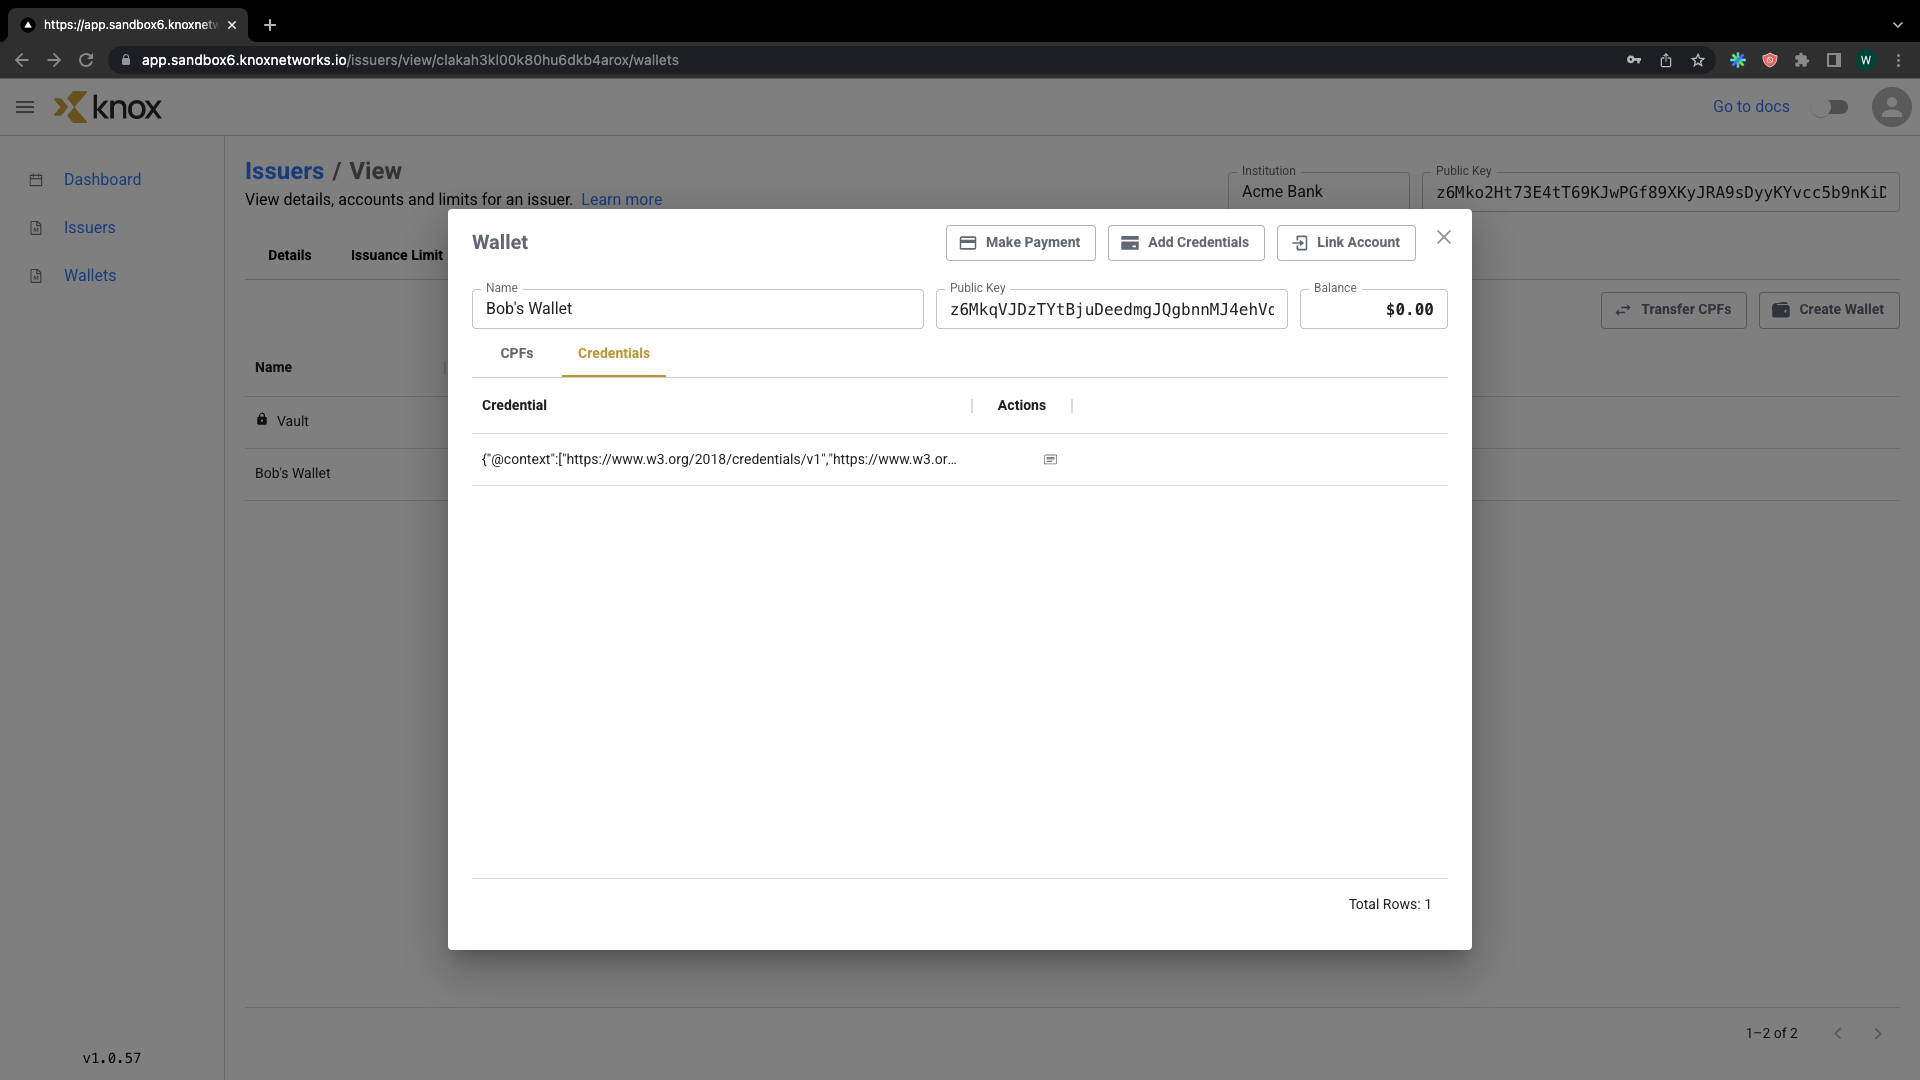
The credentials issued can be viewed more in depth by clicking on the accompanying icon.
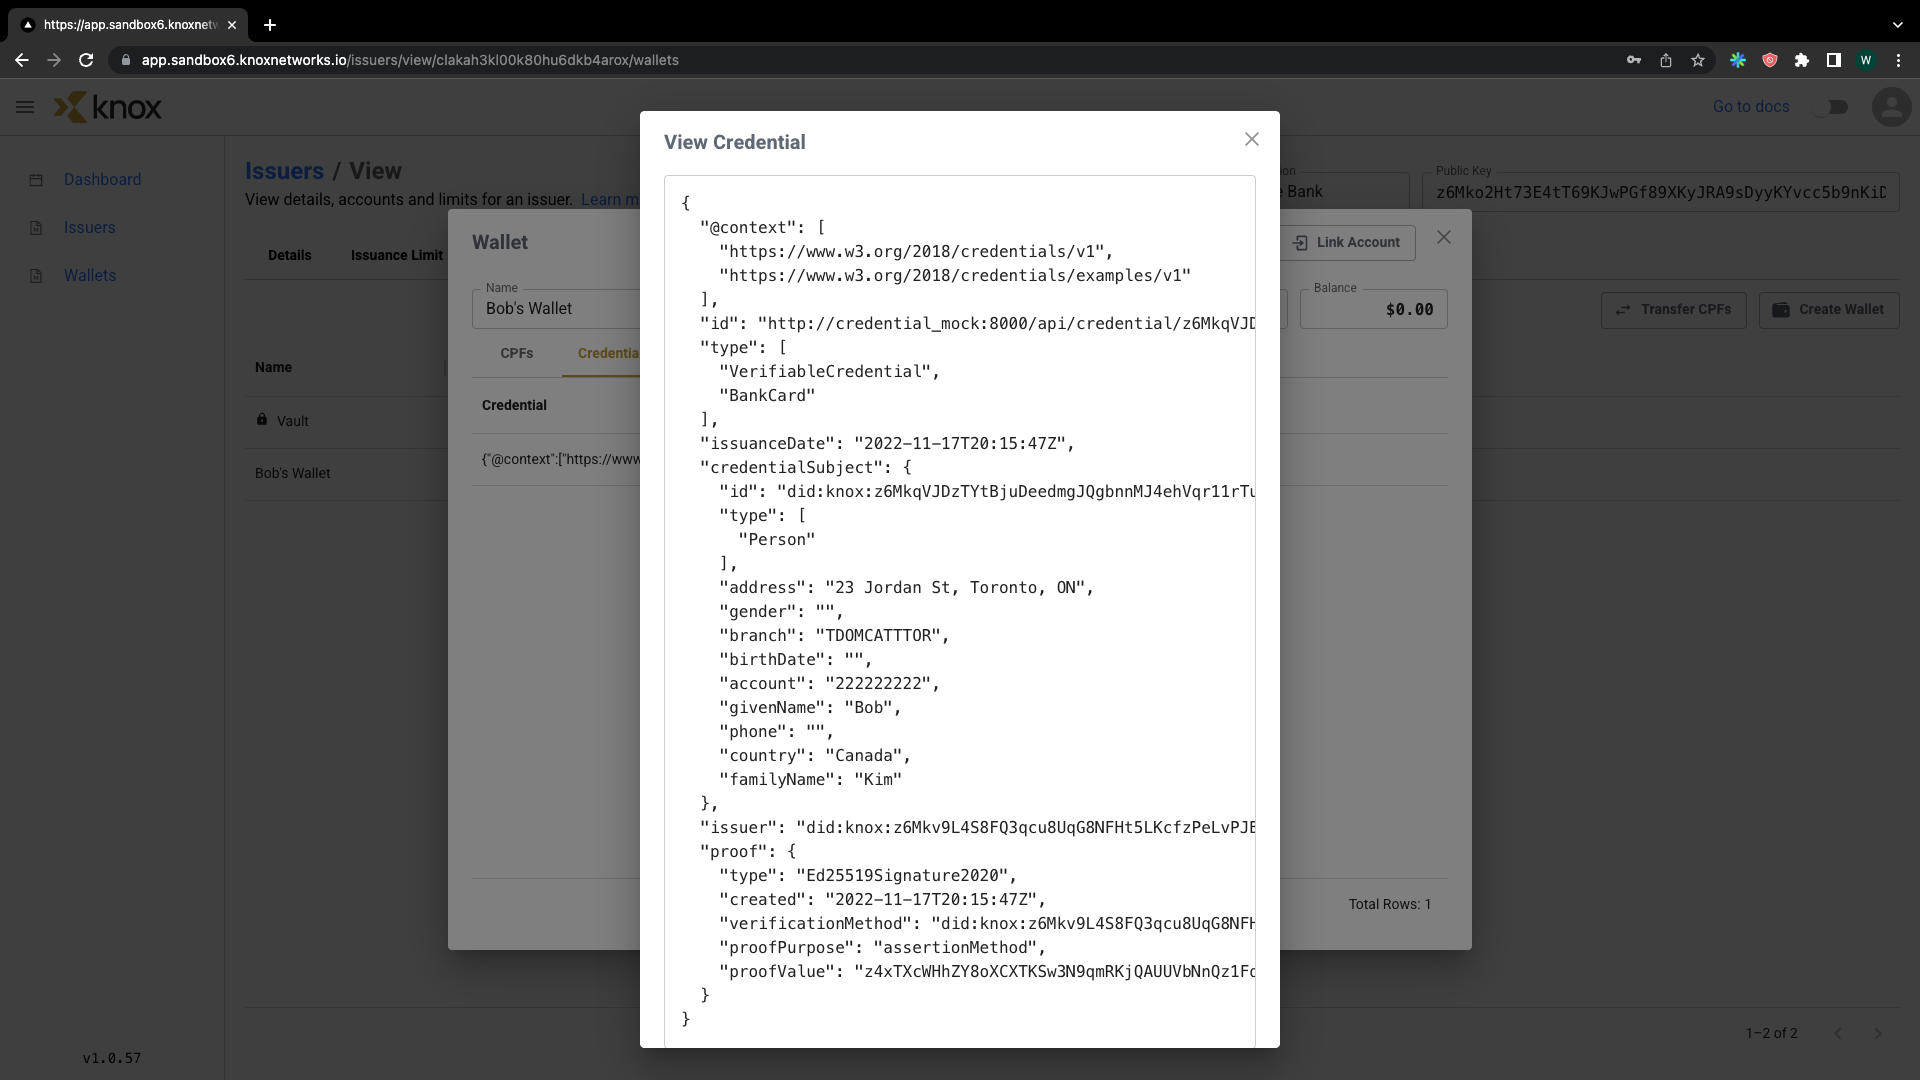
Here, we can see the credential that has been issued. We can see metadata such as the identity schema and the issuance data, as well as personal information such as name and address.
The proof area helps ensure that the data are cryptographically secure and no tampering of the body has occurred (the decrypted proofValue is the hash of the body to prove no tampering). Under a non-demo environment, all user data stays locally on the device to minimize the potential for Personally Identifiable Information (PII) breaches. This VC could be used to verify identity in transactions without having to worry about holding onto/worrying about PII.
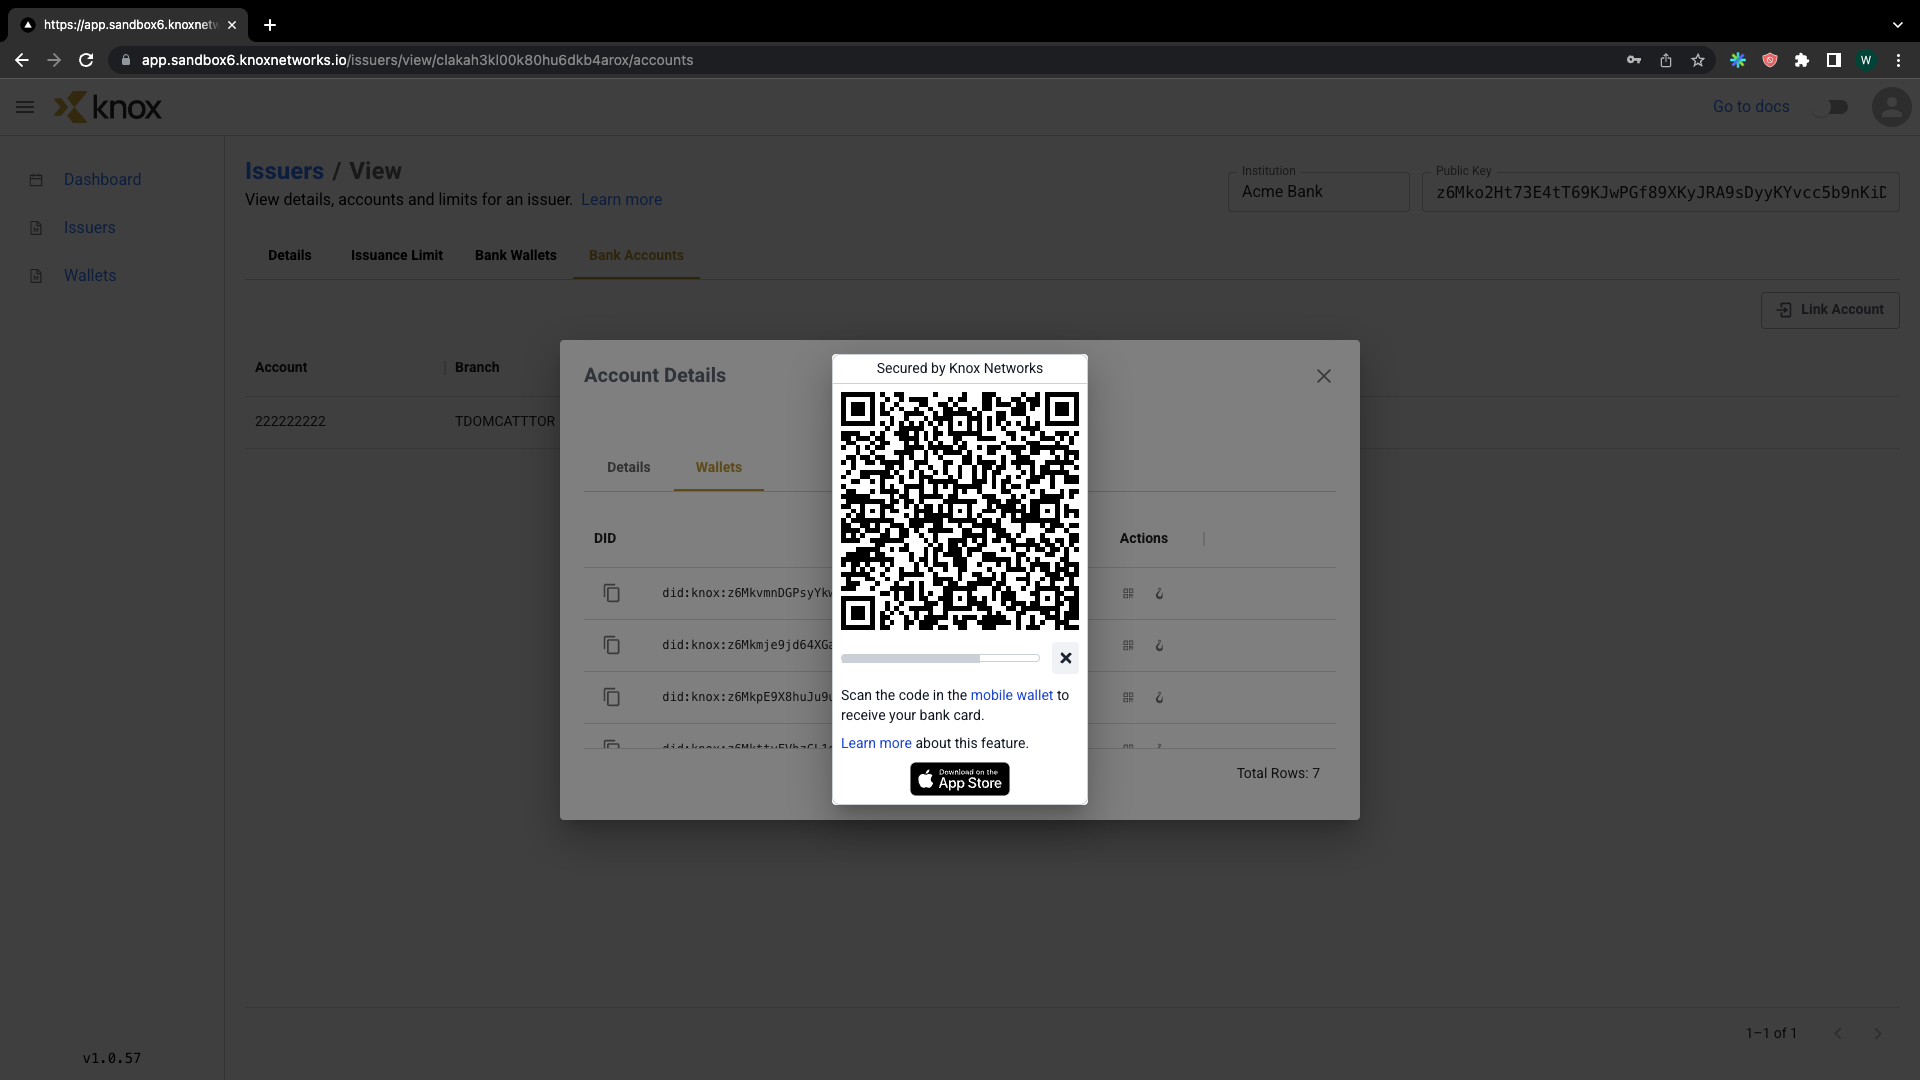
After hitting Start Scan, we'd see the QR code pop up. From here, we would be able to associate our generated Verifiable Credentials to our mobile device.
Summary
In this tutorial, we walked through the linking of an external account (in this case, from Acme Bank) and the issuing of a verifiable credential from this external account. We helped Bob link his Acme Bank account with a Knox wallet, allowing him to send and receive CPFs while also proving his identity through a privacy preserving identity solution.
Updated 4 months ago